Codelobster free Code-Editor
smart free cross-platform IDE (editor)

Free PHP, HTML, CSS, JavaScript editor - Codelobster IDE

Released: March 26, 2020

In this article, we suggest you to get acquainted with the free editor of web languages - Codelobster IDE. It is presented on the software market for a long time already, and it wins a lot of fans.

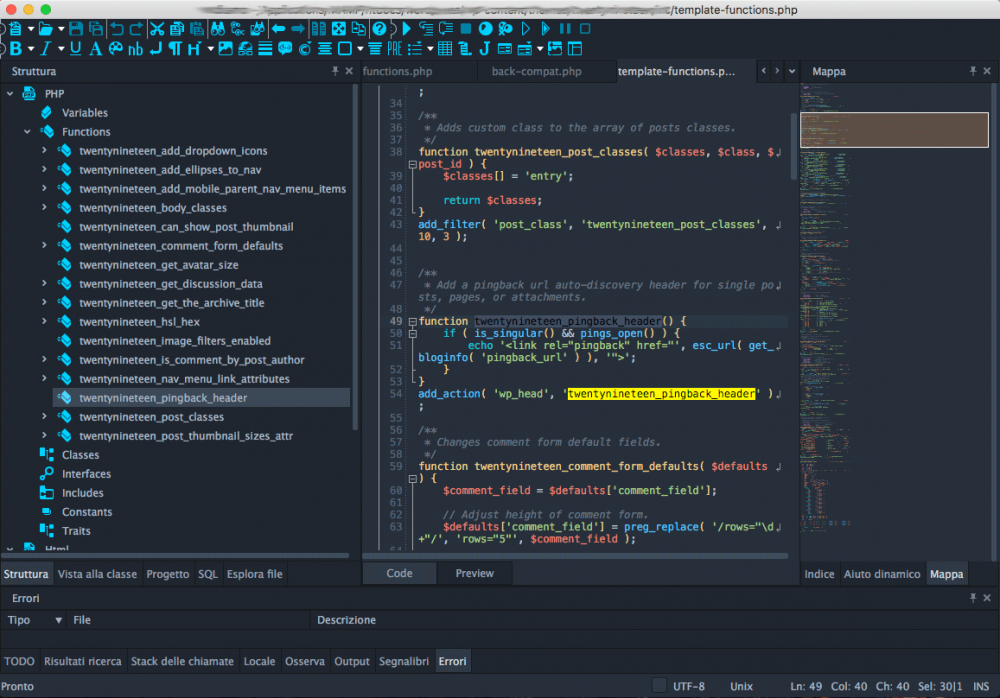
Codelobster IDE allows you to edit PHP, HTML, CSS and JavaScript files, it highlights the syntax and gives hints for tags, functions and their parameters. This editor easily deals with those files that contain a mixed content.

If you insert PHP code in your HTML template, then the editor correctly highlights both HTML tags and PHP functions. The same applies to CSS and JavaScript code, which is contained in HTML files.

The program includes auto-completion function, which greatly speeds up the programmer's work and eliminates the possibility of errors.

Codelobster IDE provides contextual help on all supported programming languages, it uses the most up to date documentation at this moment, downloading it from official sites. So we can quickly get a description of any HTML tag, CSS attribute, PHP or JavaScript function by pressing the F1 key.

The built-in PHP debugger allows you to execute PHP scripts step by step, sequentially moving through the lines of code. You can assign check points, view the process of the work of loops, and monitor the values of all variables during the execution of the script.

You can view the HTML templates directly in the editor, highlight the interesting elements on the page and explore the associated CSS styles. HTML and CSS inspector works by the principle of all known FireBug

Other useful functions and features of the IDE:

  • A pair highlighting of parentheses and tags - you will never have to count parentheses or quotation marks, the editor will take care of it.
  • Highlighting of blocks, selection and collapsing of code snippets, bookmarks to facilitate navigation on the edited file, recognition and building of the complete structure of PHP projects - these functions ensure easy work with projects of any scale.
  • Support for 17 user interface languages, among them English, German, Russian, Spanish, French and others.
  • The program works on the following operation systems: Windows 7, Windows 8, Windows 10, Mac OS, Linux, Ubuntu, Fedora, Debian.


The professional version of Codelobster IDE provides the programmer with even more features.

For example, you have an opportunity to work with projects on a remote server with use of the built-in FTP client. You can edit the selected files, preview the results and then synchronize the changes with the files on the hosting.


In addition the professional version includes an extensive set of plug-ins:

  • Fully implemented support for JavaScript libraries, such as jQuery, Node.js, AngularJS, BackboneJS and MeteorJS.
  • A large set of extensions that help to work with PHP frameworks - CakePHP, CodeIgniter, Laravel, Phalcon, Smarty, Symfony, Twig and Yii plug-ins.
  • Plugins for working with the most popular CMS - Drupal, Joomla, Magento and WordPress.

We can download and install any framework directly from the program without being distracted from the main tasks.

In general, for a year of work, our team had no complaints against the editor. Codelobster IDE works fast, does not hang and allows us to work even with large PHP projects.

You can download Codelobster IDE from the official website codelobsteride.com


Activate WordPress Maintenance Mode

Maintenance Mode no plugin

Maintenance Mode no plugin

Come aggiungere la funzionalità di Maintenance nel vostro WP ovvero sito in manutenzione.
Possiamo sia installare vari plugin, oppure inserire questa funzione all'interno del nostro file function.php:

/*************************
// Activate WordPress Maintenance Mode
function wp_maintenance_mode(){
if(!current_user_can('edit_themes') || !is_user_logged_in()){
wp_die('<h1 style="color:red">Website under Maintenance</h1><br />We are performing scheduled maintenance. We will be back online shortly!');
}
}
add_action('get_header', 'wp_maintenance_mode');
//***************************

Grazie a RoBerto Briceño per lo script ;-)

Codeanywhere cloud editor

/codeanywher


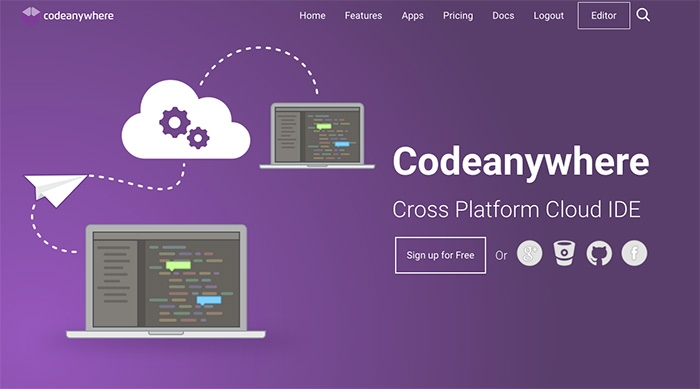
Codeanywhere editor e sviluppo con tutta la velocita del cloud

Codeanywhere potente Web editor e ambiente di sviluppo integrato,  ha tutte le caratteristiche di un desktop IDE, ma con caratteristiche aggiuntive che  solo un'applicazione cloud può dare!
Editor associato al sistema operativo Chrome OS nato appunto per lesigenza di sviliuppare in piena libertà ed ovunque...


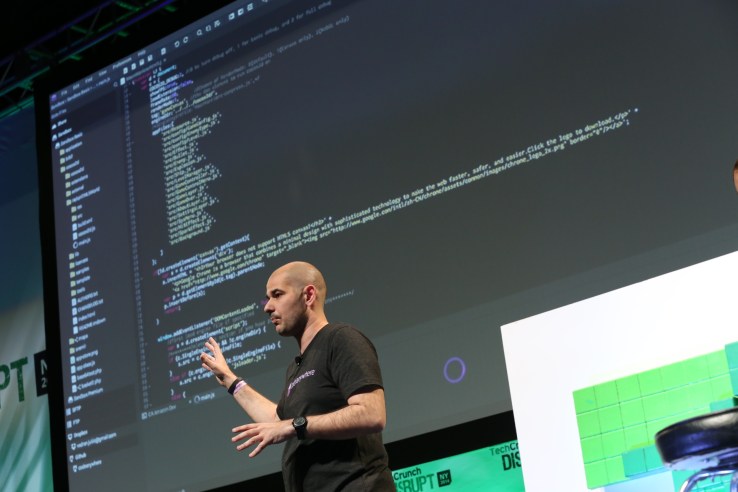
CodeAnywhere utilizza un modello freemium, in cui gli utenti possono pagare $ 5 al mese o $ 50 all'anno per gli aggiornamenti come FTP illimitati, FTPS e SFTP. Nei prossimi mesi, Burazin e Jukic dicono che il team dovrà lavorare a nuove funzionalità offline e integrazioni con i servizi di terze parti come Github.


undefined

Sviluppo

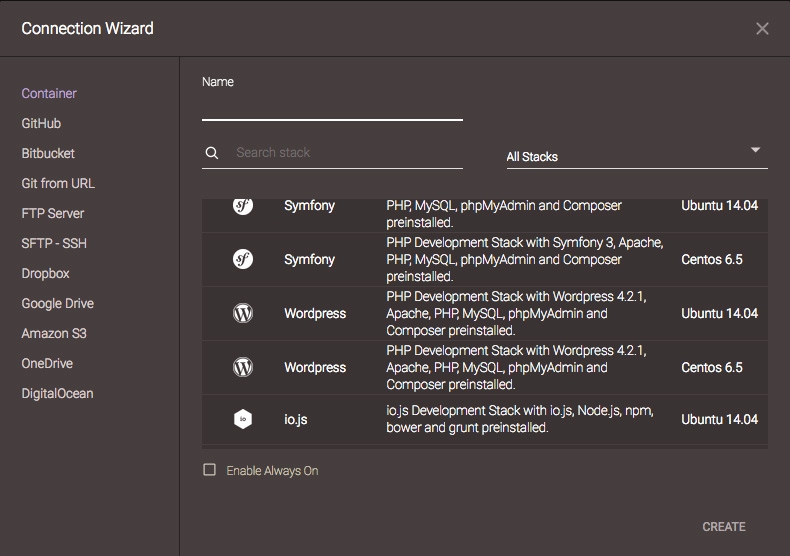
Una delle cose molto interessanti e la possibilità di scegliere l'ambinate di sviluppo, dai CMS più utilizzati Wordpress, Magento, Drupal a linguaggi di programmazione PHP,Java, C++.. e molto altro come AngularJS.

codeanywhere sviliuppo

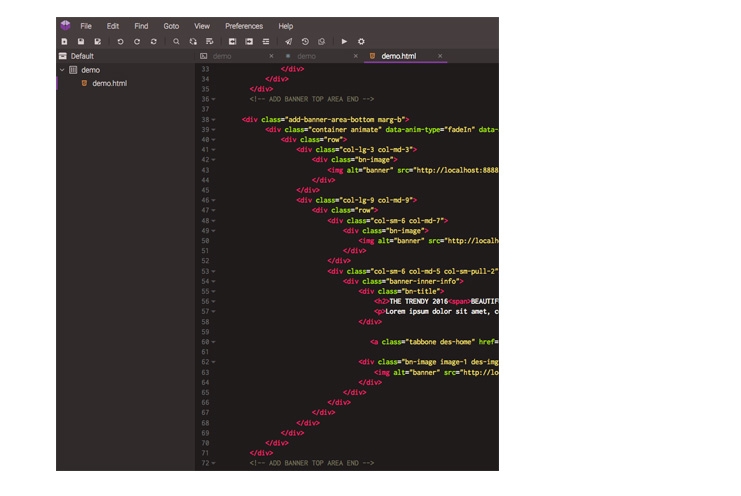
Sulla sinistra possiamo vedere come gestire i nosrtri progretti con i relativi file.
L'interfaccia di lavoro è molto semolice e chiara degna di un potente editor! assomiglia molto a Sublime text

codeanywhere editor

 Non ci resta che provarlo!
Lini:codeanywhere.com


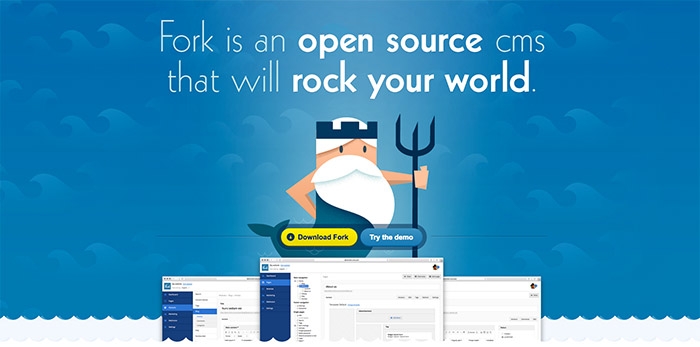
Fork Open source CMS

Fork Open source CMS

Un piccolo CMS ma dalle grandi potenzialità

Semplice e intuitivo ancora in pieno sviluppo ma non per questo non capace di attirare attenzini!
Perfetto se dovete implementare Template originali ed esigenze di un sito dinamico che possa gestire un blog o delle sezioni news.

Non ancora molto usato ma forse è questo che lo rende molto affasciante, l'installazione e molto semplice necessita della versione minima php 5.5.0 e un db MySql.

La vera forza di Fork Open source CMS che lo rende molto interessante e la gestione delle  multiligue che potete gestire al momento dell'istallazione, ottimo per un piccolo sito internazionale anche e sopratutto dal punto di vista SEO.

Per rendere questo CMS molto interattivo visto la scarsita di estenzioni ci vuole una buona capacità nella programmazione è implementazione di eventuali plugin a mio vedere.

Fork Open source CMS: Link http://www.fork-cms.com/

Salva

Salva

Salva

Salva

Salva

Salva

Salva

Salva

Salva

Salva

Plugin multilingua qTranslate X per Wordpress

qTranslate X

qTranslate X // togliere script inutili all'interno dell'head di Wordpress

qTranslate X è un plugin che ci permette diabilitare il multilingua a scelta su Wordpress con molta facilità.
Di recente è stato riesumato e reso compatibile con Yoast SEO con implementazioni per renderelo sempre più compatibile con le nuove versioni di Wordpress.

Di contro è un plugin che consuma molte risorse quindi Wordpress si deve ottimizzare al massimo, questo una conoscenza approffondita degli strumenti da usare (che vedremo più avanti).

E molto facile la castumizzazione via CSS, sia l'implementazione come widget, spesso però il plugin carica all'interno del nostro <head> righe di codice che non servono, almeno per alcune esigenze tecniche.

Vediamo ora come togliere appunto il CSS superfluo che carica all'interno dell' <head>.

Seguendo il percorso:
wp-content/plugins/qtranslate-x

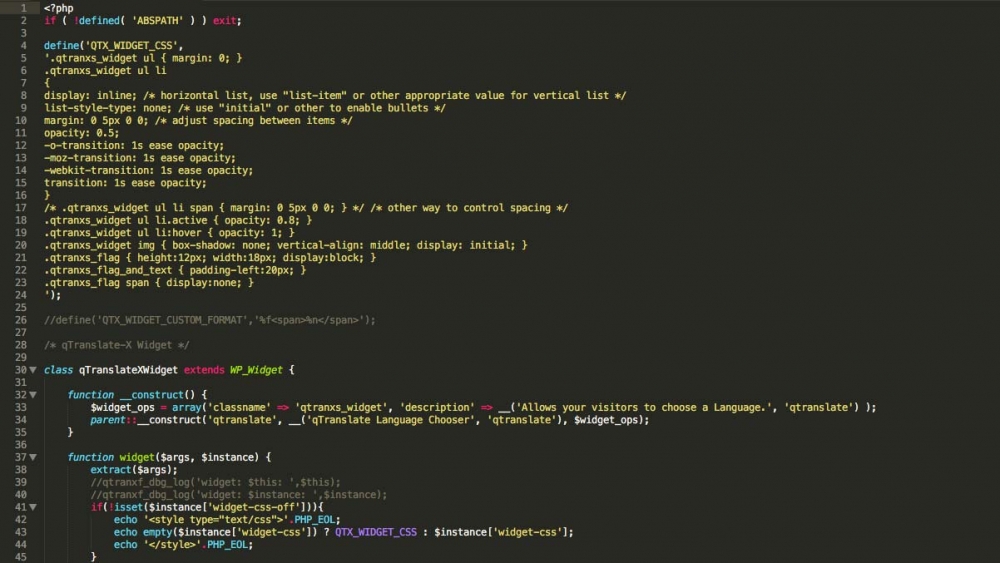
Andiamo a modificare la pagina qtranslate_widget.php

Commentare:

if ( !defined( 'ABSPATH' ) ) exit;

define('QTX_WIDGET_CSS',
'.qtranxs_widget ul { margin: 0; }
.qtranxs_widget ul li
{
display: inline; /* horizontal list, use "list-item" or other appropriate value for vertical list */
list-style-type: none; /* use "initial" or other to enable bullets */
margin: 0 5px 0 0; /* adjust spacing between items */
opacity: 0.5;
-o-transition: 1s ease opacity;
-moz-transition: 1s ease opacity;
-webkit-transition: 1s ease opacity;
transition: 1s ease opacity;
}
/* .qtranxs_widget ul li span { margin: 0 5px 0 0; } */ /* other way to control spacing */
.qtranxs_widget ul li.active { opacity: 0.8; }
.qtranxs_widget ul li:hover { opacity: 1; }
.qtranxs_widget img { box-shadow: none; vertical-align: middle; display: initial; }
.qtranxs_flag { height:12px; width:18px; display:block; }
.qtranxs_flag_and_text { padding-left:20px; }
.qtranxs_flag span { display:none; }
');

dalla riga 42 alla 44 commentare queste righe:

undefined

Togliere il meta generator di qTranslate X

Inserire all'interno del propio functions.php (relativo al tema) questo script che toglierà all'interno dell'head il nostro meta tag

remove_action('wp_head','qtranxf_wp_head_meta_generator');

link qTranslate X

Salva

Salva

Implementare widget per WordPress

Implementare widget per WordPress

Implemetare widget non nativi per WordPress spesso e fondamantale per creare e gestire contenuti dinamici.
Nel nostro caso creeremo il nostro widget.

 Per prima cosa andremo a modificare il file:   themes > il tuo tema > functions.php
Andremo a inserire il codice dentro:

function widgets_init() {

register_sidebar( array(
'name' => esc_html__( 'Titlo che sarà visibile dentro l'area WP' ),
'id' => 'titolo_applicativo',
'description' => 'descrizione',
'before_widget' => '<div id="%1$s">',
'after_widget' => '</div>',
'before_title' => '<h3>',
'after_title' => '</h3>',
) );

Questo codice ci servira a definire il widget, dentro il pannello di controllo di Worpress. (esempio)

Adesso dobbiamo richiamere il widget all'interno dei template oppure dentro i vari partials, dipende dalle vostre esigenze per rendere tuto sempolice provate all'interno del footer.php (esempio)

Adesso allinteno del nostro file footer.php inseriremmo questo codice:

  <?php if ( ! is_active_sidebar( 'titolo_applicativo' ) ) { return;}?>
<?php dynamic_sidebar( 'titolo_applicativo' ); ?>

Cosi richiamerete il widgets nella pagina.

CSS winner Andres Hunger
CSSRELL Andres Hunger
BESTcss Andres Hunger